How to Harvest Honey in Canada:
Complete Beginner’s Guide to Extraction & Bottling
📋 In This Article
Learning how to harvest honey in Canada for the first time is one of the most rewarding moments in beekeeping. After months of managing your hive through Ontario’s unpredictable spring and a short Canadian summer, harvest day is your payoff. This guide walks you through every step — from knowing when your honey is ready, to bottling your first jar.
When Is the Right Time to Harvest Honey in Canada?
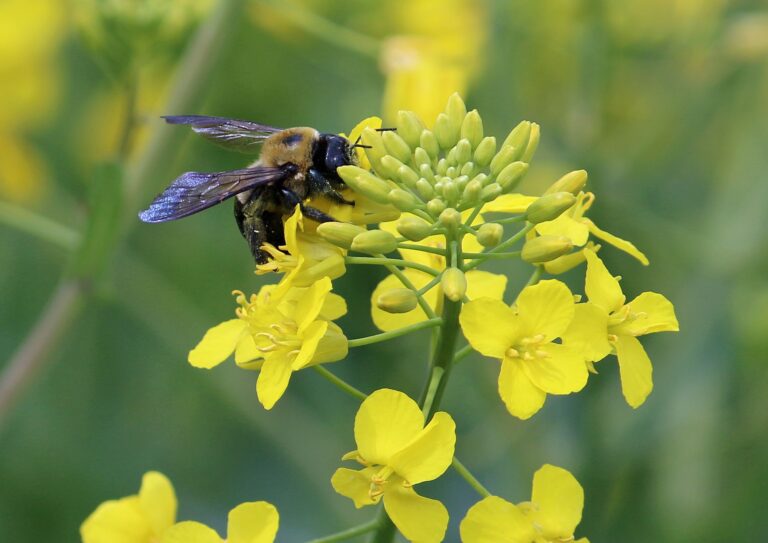
Timing your honey harvest in Canada is more critical than in warmer climates. The window between “ready to harvest” and “you need to leave it for winter stores” is significantly shorter here. Most Canadian beekeepers harvest once — in late July or August — after the main summer nectar flow from clover, wildflowers, and basswood has finished.
Don’t Harvest Too Late in Canada
After harvesting, your bees need time to rebuild winter stores before cold weather arrives. In Ontario, remove supers by early September at the latest. In Alberta, aim for mid-August. Harvesting in late September leaves your colony without enough time to store adequate winter food — a critical mistake in Canada’s short season.
Ontario vs Alberta Harvest Timing
Ontario: The main nectar flow peaks in late June and July from clover, basswood, and wildflowers. Most Ontario beekeepers harvest in late July to early August, leaving September for autumn feeding and winter preparation.
Alberta: Alberta’s main flow from canola, clover, and wildflowers peaks in July. Many Alberta beekeepers harvest in late July, giving bees the full month of August to build winter stores before September preparation begins.
How to Tell Your Honey Is Ready to Extract
The single most important rule in honey harvesting: only extract capped honey. Uncapped cells contain honey with too much moisture — it will ferment in the jar within weeks, ruining your entire harvest.
The 80% Capping Rule
A frame is ready to harvest when at least 80% of the cells are sealed with white wax cappings. Bees cap cells only when they have evaporated enough moisture from the nectar to produce stable honey — typically below 18.6% water content. Uncapped cells still contain nectar in various stages of processing.
The Shake Test
Hold a frame horizontally over the hive and give it a sharp shake. If honey drips out freely, the moisture content is too high and it is not ready. If nothing drips — or only a drop or two — the honey is sufficiently processed and safe to extract.
WiseBee Tip: Use a Refractometer for Certainty
A honey refractometer gives you the exact moisture percentage in seconds — place a small drop on the prism and look through the eyepiece. At under $25 on Amazon Canada, it’s one of the best investments for any Canadian beekeeper who wants to sell or gift their honey with confidence.
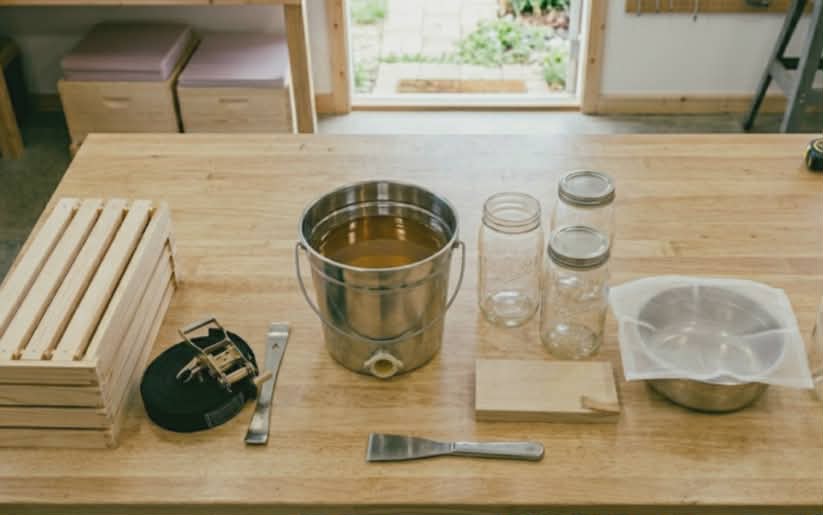
Equipment You Need Before You Start
🛒 Harvest Day Equipment List
- Honey extractor — manual 2-frame or electric for larger harvests
- Electric uncapping knife or uncapping fork
- Uncapping tub or tray to catch wax cappings and drips
- Double-mesh honey strainer
- Settling tank or food-grade bucket with gate valve
- Glass or food-grade plastic honey jars with lids
- Honey refractometer (strongly recommended)
- Bee escape board or bee brush to clear supers
- Full beekeeping suit and smoker for removing supers from hive
- Clean, warm room for extraction — ideally 25–27°C
WiseBee Tip: Warm Your Extraction Room
Honey flows much more easily when warm. Extract in a room heated to at least 25°C — a cold Canadian garage in August makes extraction painfully slow as thick honey refuses to spin out of frames. Bringing frames indoors 12 hours before extraction makes a significant difference.
How to Harvest Honey Step-by-Step
The evening before harvest day, install a bee escape board between the brood boxes and honey supers. The one-way escape allows bees to move down into the brood area but prevents return. By the next morning, supers should be largely bee-free.
Alternatively, use a bee brush to gently sweep bees off each frame directly at the hive. This is faster but more disruptive — use plenty of smoke and work calmly. Carry cleared frames to a sealed vehicle or bee-proof container immediately to prevent robbing by other colonies.
Hold each frame over your uncapping tub and slice off the wax cappings with a heated uncapping knife — smooth sawing motion from bottom to top. The heated blade melts through cappings cleanly without tearing the comb underneath.
For any cells the knife misses, use an uncapping fork to scratch through remaining cappings. Every cell must be opened for honey to spin out during extraction. Save the wax cappings — they contain residual honey that can be washed out, and the clean wax can be melted down for candles or wood polish.
Load uncapped frames into the extractor basket — always load an even number of frames and balance weight evenly on opposite sides to prevent vibration. Start spinning slowly to let honey begin flowing, then gradually increase speed.
For a radial extractor, spin until honey stops flowing freely — typically 5–10 minutes at moderate speed. For a tangential extractor, spin one side at half speed, reverse frames, spin the other side fully, then finish the first side. This two-stage process prevents frames from breaking under the weight of honey on one side.
Open the extractor gate valve and let honey flow through your double-mesh strainer into a food-grade settling tank. The coarse mesh catches large wax pieces and bee parts; the fine mesh catches smaller particles. Do not rush this step — let gravity do the work. Forcing honey through a fine strainer damages its natural properties and removes beneficial pollen.
Cover your settling tank and leave honey undisturbed at room temperature for 24–48 hours. Air bubbles, wax fragments, and foam rise to the surface and can be skimmed off before bottling. This settling step produces a noticeably cleaner, more attractive final product. Keep the room warm during settling — cold temperatures cause honey to thicken rapidly and trap bubbles.
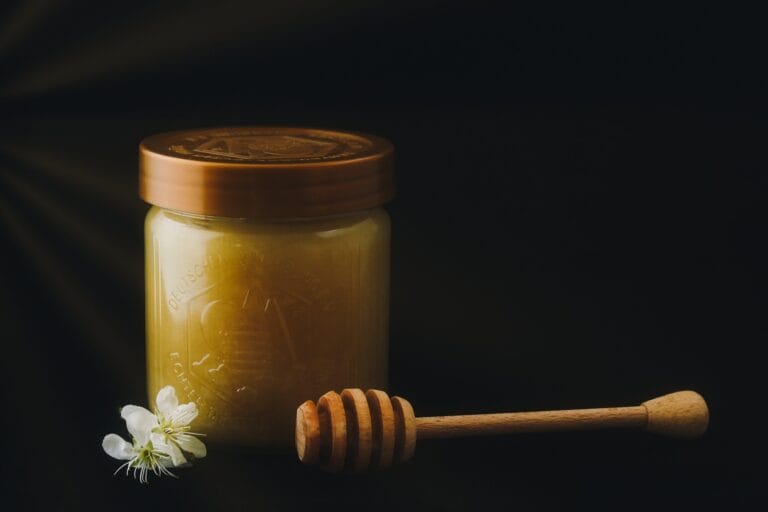
Open the gate valve on your settling tank and fill jars to within 1cm of the top. Wipe jar rims clean before sealing. Label each jar with the harvest date and honey variety if known — clover, wildflower, basswood, canola.
Store finished honey at room temperature away from direct sunlight. Properly harvested honey with under 18.6% moisture keeps indefinitely — refrigeration is unnecessary and accelerates crystallization.
Bottling, Storing & Canadian Honey Varieties
About Crystallization
Raw Canadian honey — particularly clover and canola honey — crystallizes relatively quickly, often within weeks of bottling. This is completely natural and does not indicate spoilage. Crystallized honey is simply honey where the glucose has precipitated into crystals — still safe, still flavorful. To reliquefy, place the sealed jar in warm water not above 40°C. Never microwave honey — uneven heat destroys enzymes and flavor.
Ontario & Alberta Honey Varieties
Canadian honey varies dramatically by region. Ontario basswood honey (July) is prized for its distinctive minty flavor. Ontario wildflower and clover honey is lighter and mild. Alberta canola honey crystallizes very quickly and is often sold creamed. Goldenrod honey (September) has a stronger flavor and is excellent for cooking. Label your honey by source if you know the primary nectar plant — it adds value and character to your jars.
Canadian Honey Labelling Requirements
If you intend to sell your honey in Canada, CFIA labeling requirements apply. At minimum, labels must include: product name, net quantity, your name and address, and country of origin (“Product of Canada” if all honey is from Canadian hives). Contact your provincial apiculture office for current provincial requirements before selling.
6 Common Beginner Mistakes When Harvesting Honey in Canada
| Mistake | Why It Happens | The Fix |
|---|---|---|
❌ Mistake 1 Harvesting uncapped frames |
Impatience — the super looks full | ✅ Fix 80% capped minimum. Shake test. Buy a refractometer. |
❌ Mistake 2 Harvesting too late in the season |
Not accounting for Canada’s short season | ✅ Fix Supers off by early September Ontario, mid-August Alberta. |
❌ Mistake 3 Taking too much — leaving colony short |
Wanting maximum harvest | ✅ Fix Leave 30–35 kg in brood boxes. Harvest only from supers. |
❌ Mistake 4 Extracting in a cold room |
Using unheated garage in August | ✅ Fix Warm extraction room to 25°C+ — honey flows 3x more easily. |
❌ Mistake 5 Triggering robbing with open supers |
Leaving honey-scented equipment outside | ✅ Fix Move cleared supers immediately to a sealed vehicle or building. |
❌ Mistake 6 Skipping the settling step |
Impatience to bottle immediately | ✅ Fix 24–48 hours settling produces noticeably cleaner honey. |
Best Honey Extraction Equipment on Amazon Canada
Final Thoughts
Harvesting honey in Canada for the first time is deeply satisfying — the reward for months of careful hive management and patient waiting. Follow the 80% capping rule, work in a warm room, settle your honey before bottling, and leave adequate stores for your bees’ winter survival.
Your first harvest may be modest — a few kilograms from a first-year colony is completely normal in Canada’s short season. By your second and third year, with strong overwintered colonies and good forage, harvests of 20–40 kg per hive are achievable in Ontario and Alberta. 🍯🐝
After your harvest, it’s time to prepare for winter — read our Bee Overwintering Guide for Ontario & Alberta →
Questions about your honey harvest? 🍯
Ask our AI beekeeping assistant — tell us how many frames you have ready and we’ll guide you through the extraction process step by step.
🐝 Ask Bee Now — It’s Free🐝 WiseBee Disclosure
Affiliate Disclosure: This article contains Amazon affiliate links. If you purchase through our links, we earn a small commission at no extra cost to you. Learn more →
Disclaimer: This article is for educational purposes only and does not constitute professional apicultural or veterinary advice. Always consult a qualified beekeeper for guidance specific to your situation. Full disclaimer →