Hive Split Inspection:
Day-by-Day Calendar After Splitting a Bee Colony
📋 In This Article
- Hive Split Inspection — Why the First 30 Days Are Critical
- Day-by-Day Inspection Calendar After a Bee Hive Split
- How to Tell If Your Bee Colony Split Was Successful
- Signs Your Split Hive Is Failing — What to Watch For
- How to Rescue a Failed Bee Colony Split
- Common Questions Beekeepers Ask After Splitting a Hive
- FAQ — Hive Split Inspection Questions & Answers
A hive split inspection is not a single event — it is a 30-day management process. The moment you close the split box, a sequence of critical biological events begins: queen emergence, mating flights, first laying, brood development. Understanding exactly what to look for on each day — and what to do when something goes wrong — is the difference between a successful new colony and weeks of wasted effort.
Hive Split Inspection — Why the First 30 Days Are Critical
The hive split inspection calendar differs depending on which method you used to split: a walk-away split (bees raise their own queen), a queen cell split (capped cell introduced), or a mated queen split (purchased laying queen). Each method has a different timeline for when to inspect and what to expect.
Queen cell split: First inspection on Day 12-14 — confirm queen emerged, look for eggs after mating flights.
Walk-away split: First inspection on Day 10-12 — confirm emergency queen cells built. Second inspection Day 21-25 — confirm new queen laying.
The critical rule: Never open the split before Day 5 under any circumstances — disturbance in the first 48-72 hours is the most common cause of queen rejection.
Day-by-Day Inspection Calendar After a Bee Hive Split
The most important rule in hive split inspection: do not open the split for the first 3 days under any circumstances. The queenless colony is in a state of alarm — pheromone disruption, disoriented bees, and a new environment all create stress. Opening the hive in this period disrupts the critical queen acceptance process and dramatically increases the risk of rejection.
What you CAN do without opening:
- Observe the entrance — are bees flying in and out normally?
- Listen at the entrance — calm hum indicates settling, roaring hum indicates severe stress
- Check entrance reducer is in small position to help bees defend
- Ensure upper ventilation is open (inner cover notch)
- Confirm feeder is accessible without opening — refill only through top if possible
Day 5 is the first inspection point for mated queen splits only. The candy plug in the queen cage should have been eaten through by now and the queen released. This inspection is brief — under 5 minutes — and focused only on the queen cage.
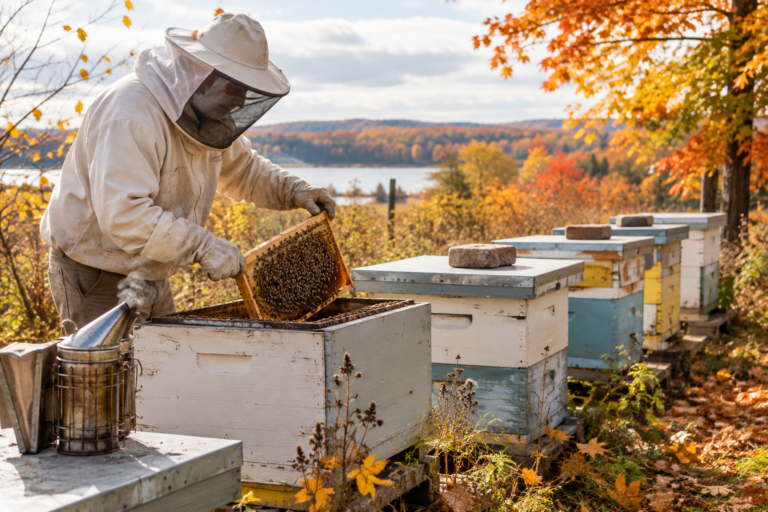
- Open hive calmly with minimal smoke — this is not a full inspection
- Locate the queen cage between the two central brood frames
- Is the candy plug gone? Is the cage empty? ✅ Queen released
- Is the cage still full of candy? Leave it another 2 days — some releases take longer
- Look briefly at the cells immediately adjacent to the cage position — can you see tiny white eggs standing upright? If yes, queen is laying already ✅
- If cage is empty but you see bees clustered in a tight ball on one spot — the queen may be there, this is normal
- Close up immediately — do not search for the queen at this stage
For walk-away splits, Day 7 is when you can confirm whether bees have started building emergency queen cells from the brood frames you transferred. This is a brief inspection — look only at the bottom edges and faces of brood frames.
- Look for queen cups being extended into full queen cells — peanut-shaped, hanging from frame bottom or face
- Finding 2-5 developing queen cells is a positive sign ✅
- Finding zero queen cells at Day 7 may mean no larvae were young enough — check again at Day 10
- Do NOT remove any cells yet — let bees select the best candidates
- Refill syrup and replace consumed pollen patty
Day 10-12 is the most important hive split inspection checkpoint for all split methods. This is when you confirm queen cell development (walk-away/cell splits) or confirm the new queen has begun laying (mated queen splits).
Mated queen splits — what to look for at Day 10-12:
- Find eggs standing upright in cells — tiny, like a grain of rice on end ✅ Success signal
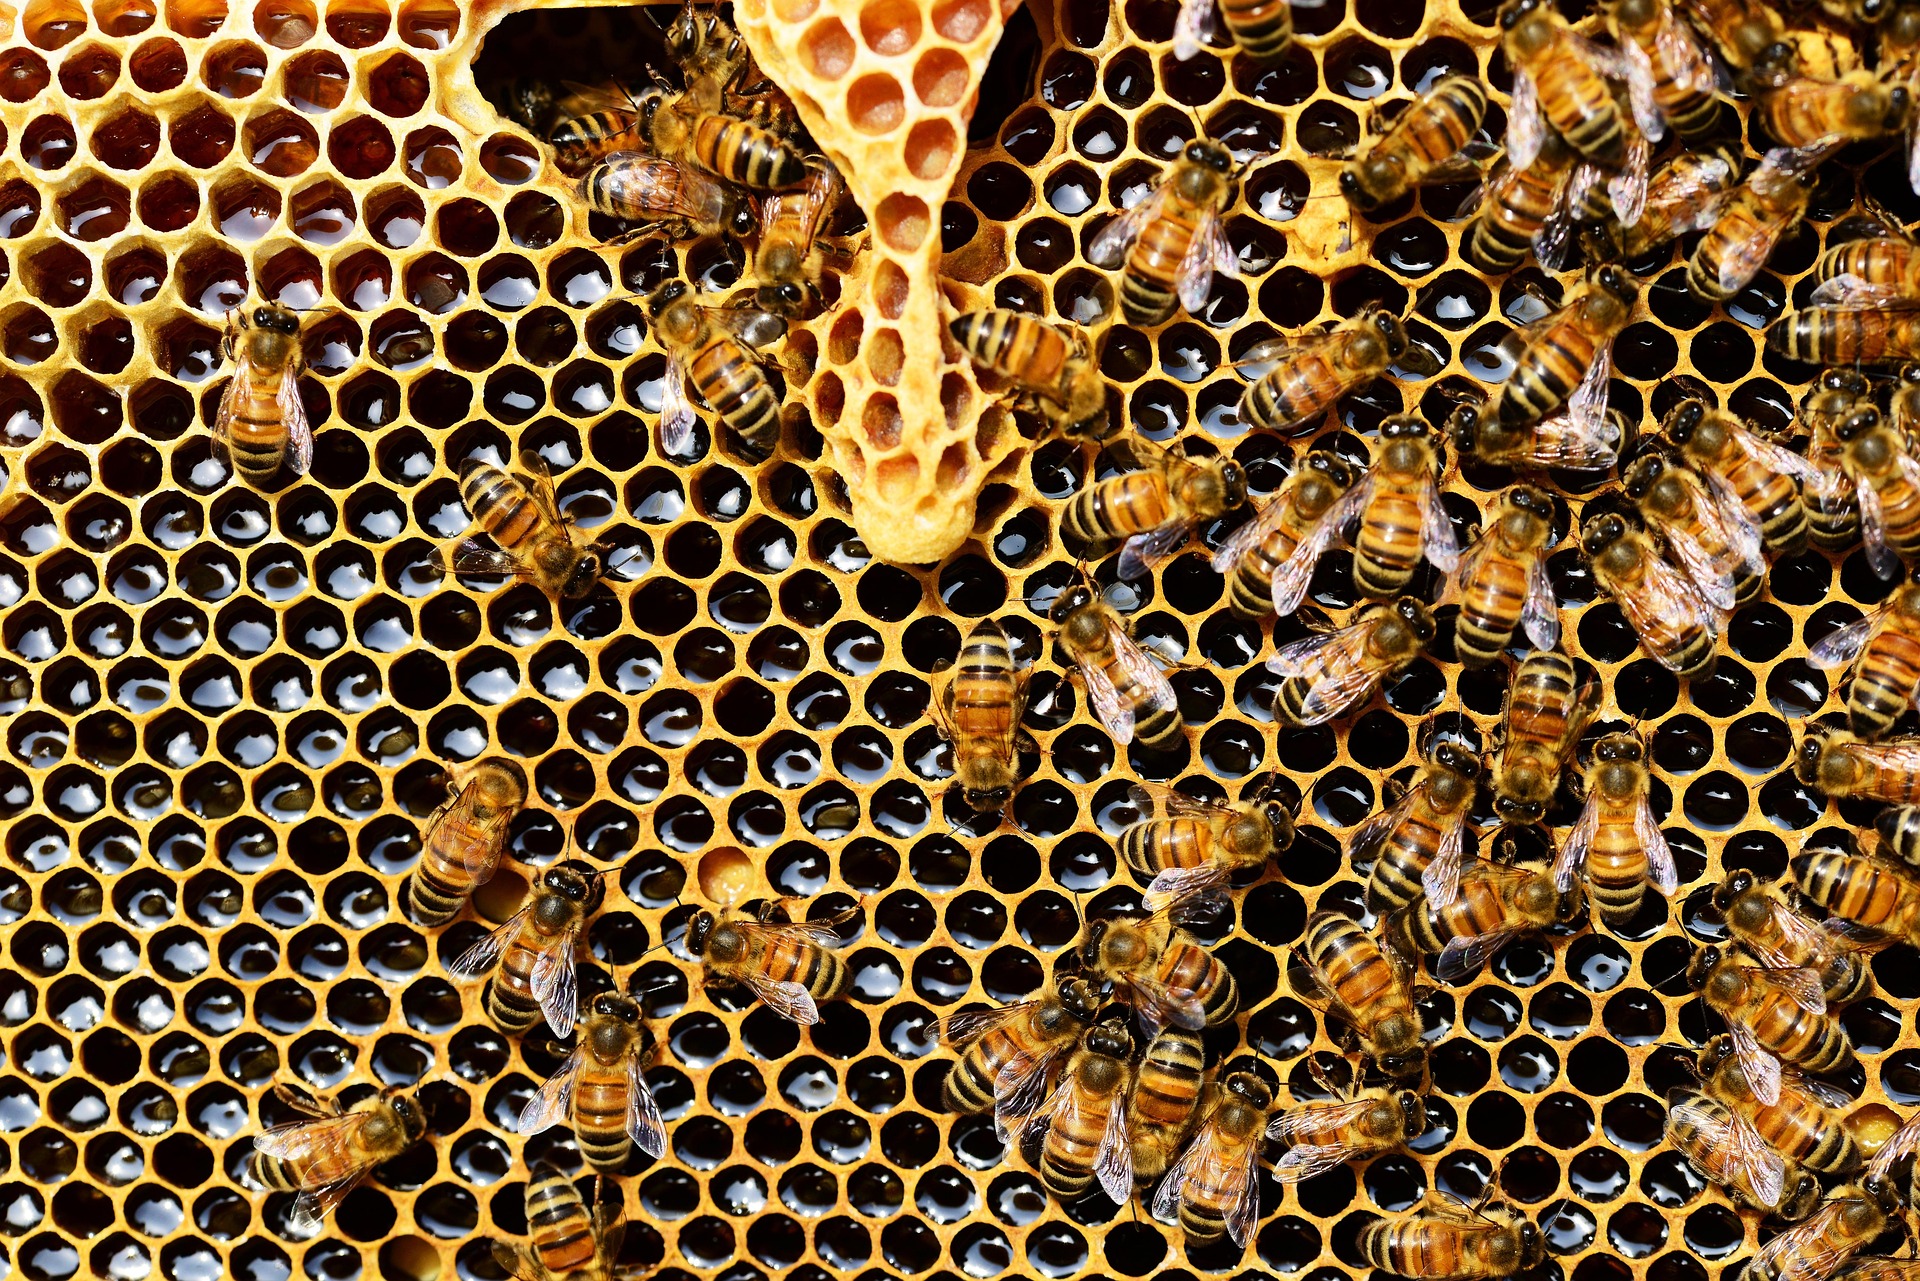
- Find young larvae (small white C-shaped grubs in cells) ✅ Queen has been laying 3-6 days
- No eggs and no larvae at Day 10 — queen may have been rejected, investigate further
Walk-away splits — what to look for at Day 10-12:
- Find capped queen cells — large peanut-shaped cells with wax cap ✅ Queen development on track
- Queen cells should be capped by Day 10-12 from split (if eggs were present at split time)
- Leave ONE best cell — remove all others to prevent afterswarms in Ontario splits
- Do NOT open queen cells to check — they are fragile at this stage
Between Day 14-16 from the split, a virgin queen raised from emergency cells should emerge. This is an extremely sensitive period — a virgin queen that is disturbed before she has oriented to the hive may be killed by workers or fail to complete mating flights successfully.
- Do NOT open the hive during Days 14-18 — leave completely undisturbed
- Observe the entrance — seeing a slightly larger bee moving purposefully is the virgin queen taking orientation flights
- Hearing a high-pitched “piping” sound from outside the hive means a virgin queen is present ✅
- Refill feeder from the top without opening if possible
- Ensure entrance is reduced to small position — virgin queens are vulnerable to robbing
The virgin queen makes her mating flights between Day 14-21 from split. She requires warm, calm weather above 18°C and will mate with 10-15 drones from other colonies during 1-3 afternoon flights. In Ontario’s reliable summer warmth this process takes 5-7 days. In Alberta’s more variable conditions, it may take up to 10-12 days.
- Do NOT open the hive during this period — disturbing the colony can cause workers to kill a returning mated queen
- Watch the entrance — queen departure for mating looks like a larger bee flying straight out
- A queen returning from a successful mating flight may have the white mating sign visible on her abdomen — this is normal and positive
- Alberta beekeepers: allow extra days if June weather has been cool or rainy — queens wait for ideal conditions
Day 21-25 is the definitive hive split inspection to confirm success. By this point, a successfully mated queen should have been laying for at least 7-10 days and the first new brood should be clearly visible. This is your first full frame inspection of the split colony.
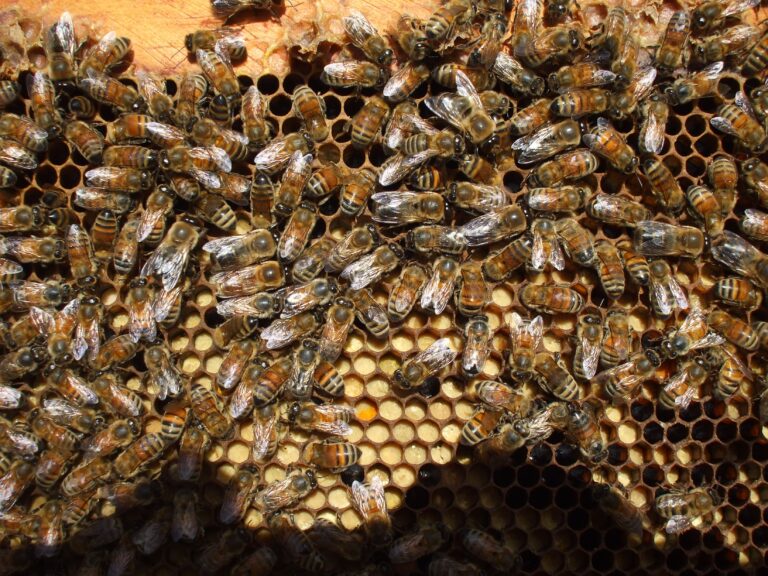
- Find frames with eggs, young larvae, and capped brood in a consistent pattern ✅ Split successful
- Check brood pattern quality — compact, consistent, few empty cells = healthy queen
- Count frames of brood — 2-3 frames at Day 21-25 is excellent, 1 frame is acceptable
- Assess population — is the colony maintaining or growing? Increasing bee number is a positive sign
- Check food stores — how much honey and pollen remain? Consider feeding if stores are light
- Check for Varroa mites on adult bees — new splits are highly susceptible to rapid mite buildup
- Look at overall colony temperament — a queenright colony is noticeably calmer than a queenless one
Day 30 is when you can assess the split colony’s trajectory for the season. The first new bees from the new queen’s laying should be emerging now, and the colony should show clear signs of population growth.
- Count frames covered by bees — growth from Day 21 count confirms healthy development ✅
- Find 3-5 frames of brood in various stages — eggs, larvae, and capped ✅
- Observe foraging activity at entrance — increasing pollen and nectar collection is a positive sign
- Assess food stores and adjust feeding if needed — see our dedicated feeding guide
- Consider adding a super if colony is in Ontario and covering 6+ frames during nectar flow
- Alberta: is colony on track to reach 8 frames before September? If not — plan heavy autumn feeding
How to Tell If Your Bee Colony Split Was Successful
- Eggs standing upright in cells at Day 10-12 (mated queen) or Day 21-25 (walk-away)
- Young larvae visible in cells — small white C-shaped grubs
- Compact, consistent brood pattern with few empty cells
- Colony is calm and organised at inspection
- Population growing week over week
- Foragers returning with pollen
- Piping sound heard during queen emergence period
- Bees backfilling cells with nectar around brood area
- No eggs or brood by Day 25 after split
- Roaring, agitated colony sound — possible queenless panic
- Scattered, sporadic brood pattern — possible laying worker
- Multiple eggs per cell — laying worker takeover
- Population declining each week with no new brood
- No forager activity — colony in decline
- Queen cells built and torn down repeatedly — queen rejection
- Emergency cells built even after queen introduction
Signs Your Split Hive Is Failing — What to Watch For
Recognizing a failing split hive early gives you options for rescue. A split that has been queenless for more than 3 weeks without any brood development enters a cascade of decline that becomes progressively harder to reverse — laying workers develop, colony morale collapses, and population drops below the threshold needed to accept a new queen.
The Laying Worker Problem in Failed Splits
The most serious failure mode of a queenless bee colony split is laying worker takeover. When a colony has been queenless for 3+ weeks with no queen cells developing, worker bees with undeveloped ovaries begin laying unfertilized eggs. These eggs develop into drones only. Signs: multiple eggs per cell (workers cannot control laying precisely), scattered drone brood in worker-size cells, a distinctive buzzing/disorganized hive sound, and progressive population collapse.
Laying Worker Split — Hardest to Rescue
A split with laying workers is the most difficult colony condition to reverse in beekeeping. Laying workers produce pheromones that mimic a queen, causing workers to reject any introduced queen or queen cell immediately. Standard queen introduction almost always fails at this stage. The rescue methods below describe specific techniques that can work — but success is not guaranteed.
How to Rescue a Failed Bee Colony Split
Rescuing a failed bee colony split depends on how far the failure has progressed. Early-stage failures (no queen by Day 21 but no laying workers) are easy to correct. Advanced failures (laying workers established) require specific techniques.
Situation: Day 21-25 inspection finds no eggs, no brood, no queen cells. Colony is calm but diminishing. No multiple eggs per cell (so laying workers not yet established).
Solution: Introduce a new mated queen immediately using a candy plug cage. The colony is queenless but still accepts queen introduction at this stage. Leave for 5 days then confirm release and eggs. If purchasing a mated queen is not possible, add a frame of young brood with eggs from a healthy donor hive — this gives bees the option to raise an emergency queen and re-establishes a positive colony trajectory.
Situation: Queen was confirmed laying at Day 21 but subsequent inspection finds no eggs, scattered pattern, and increasingly agitated colony. The queen has died or gone missing.
Solution: Act within 72 hours of discovering the queen is missing. Introduce a new mated queen in a candy cage immediately — the colony has not yet developed laying workers and will accept a new queen readily. Alternatively, introduce a frame of fresh eggs and young larvae from a donor hive so bees can raise an emergency queen.
Situation: Multiple eggs per cell, drone brood in worker-size cells, bees agitated, population dropping. Laying workers confirmed at Day 30+.
Solution — The Shakeout Method: Move the laying worker split to a new location at least 30 metres from the original hive stand. Shake all bees in front of the original hive location or another strong hive. Flying bees return to a familiar location — laying workers (which have never flown) cannot navigate back and are lost. Remaining foragers can then be merged into a healthy colony using the newspaper method. This is the most reliable method for dealing with laying worker splits in Ontario and Alberta.
Alternative: If shakeout is not practical, add a frame of fresh eggs from a healthy colony every 5 days for 2-3 rounds. Eventually bees may accept one as a queen candidate. Success rate is lower than shakeout but preserves the colony location.
Situation: Mated queen was introduced, cage was emptied, but no eggs at Day 10. Queen was released but rejected and killed.
Solution: Wait 3-4 days before introducing a second queen — allow pheromone levels to normalize. Introduce the new queen in a cage with the smallest possible candy plug (extending the slow-release period to 5-7 days). Some beekeepers place the cage in a cool location for 24 hours before introduction — a slightly chilled queen is less active and less likely to trigger immediate rejection. Alternatively, introduce a frame with a ripe queen cell from a donor hive — bees are more likely to accept a cell than a foreign mated queen when colony stress is high.
Common Questions Beekeepers Ask After Splitting a Hive
These are the questions most beekeepers find themselves asking in the days and weeks after making a split — often at 11pm, standing in the garden wondering whether to open the hive or not.
FAQ — Hive Split Inspection Questions & Answers
The timing of the first hive split inspection depends on the method used. For mated queen splits, the first inspection is at Day 5 — to confirm the queen has been released from her candy cage. For queen cell splits, wait until Day 12-14 to allow the virgin queen to emerge and begin mating flights. For walk-away splits, a brief check at Day 7-10 confirms bees are building emergency queen cells, followed by the definitive inspection at Day 21-25 to confirm the new queen is laying. Never open a split colony in the first 3 days regardless of method — this is when queen acceptance is most fragile.
A bee colony split is confirmed successful when you find eggs standing upright in cells during your Day 21-25 inspection — this means a queen has been laying for 3 days or less. Additional success indicators include young larvae in cells, a compact and consistent brood pattern, a noticeably calm colony temperament compared to the queenless period, growing population week over week, and active foragers returning with pollen. The presence of eggs is the single most reliable indicator — a fertilized egg tells you a mated queen was laying very recently.
If there are no eggs in your split at Day 21, first check for signs of laying workers — multiple eggs per cell, scattered drone brood in worker-size cells. If no laying workers are present, the split is simply queenless and can still be rescued. Introduce a mated queen immediately in a candy cage — the colony is still in a state where it will accept a new queen without laying worker complications. If purchasing a mated queen is not possible, add a frame of fresh eggs and young larvae (under 3 days old) from a healthy donor hive — bees can raise an emergency queen from these. Check again at Day 30 for eggs from the new queen.
For a walk-away split, allow up to 28 days from the split date before concluding the queen rearing has failed — this allows for slow queen cell development, extended mating flight weather delays, and the queen’s pre-laying period. For a mated queen split, if no eggs are visible by Day 14 the queen has likely been rejected or died. For a queen cell split, allow 21 days from cell introduction. In all cases, if Day 25 passes with no eggs and no viable queen cells developing, intervene immediately — the longer you wait, the higher the risk of laying worker establishment which is significantly harder to rescue.
Yes — a queenless bee colony is almost always significantly more defensive during inspection than a queen-right colony. Queen pheromones (particularly 9-ODA from the queen’s mandibular glands) have a calming effect on the entire colony. A queenless split lacks this chemical signal and bees are in a state of alarm and heightened defensiveness. If your split is very aggressive at inspection between Day 7 and Day 21, this is actually normal and expected. A dramatic reduction in aggression at your Day 21-25 inspection is one of the most reliable signs that a new queen has successfully mated and begun laying — colony temperament shifts noticeably within days of queen acceptance.
Yes — combining a failed split with the parent colony or any other queen-right colony is always an option and is often the most practical rescue for Ontario and Alberta beekeepers in time-sensitive situations. Use the newspaper method: place a single sheet of newspaper between the failed split and the recipient hive, cut a few small slits in the paper, and stack one box on top of the other. Bees eat through the newspaper over 24-48 hours and merge peacefully. The queen-right colony’s pheromones gradually suppress any laying workers in the failed split. This rescue method works reliably at any stage of split failure and preserves all the bees from both colonies.
Final Thoughts on Hive Split Inspection
The most important skill in hive split inspection is patience. The first 21 days after a split are biologically complex — queen emergence, mating flights, acceptance, and first laying all happen on their own timeline, and opening the hive too often disrupts these processes more than it helps. Trust the calendar, observe from the entrance when in doubt, and intervene decisively only when the inspection data tells you something has gone wrong.
A well-timed intervention at Day 21 when no eggs are found can save a split that would otherwise collapse into laying workers within days. Waiting until Day 35 to investigate is always too late. Use this calendar, inspect on schedule, and your splits will give you the information you need to act at exactly the right moment. 🐝🍯
Questions about your split colony? 🐝
Ask our AI beekeeping assistant — describe what you’re seeing at inspection and we’ll help you diagnose whether your split is succeeding or needs intervention.
🐝 Ask Bee Now — It’s Free🐝 WiseBee Disclosure
Affiliate Disclosure: This article contains Amazon affiliate links. If you purchase through our links, we earn a small commission at no extra cost to you. Learn more →
Disclaimer: This article is for educational purposes only and does not constitute professional apicultural or veterinary advice. Always consult a qualified beekeeper for guidance specific to your situation. Full disclaimer →