Best Mouse Guards for Beehives:
Top Fall Entrance Reducers to Protect Your Hive
The best mouse guard for Canadian beehives is a metal entrance reducer — either a solid stainless steel sliding guard or a punched metal strip. The critical requirement is metal: mice can chew through wood and plastic entrance reducers within a single night, making non-metal guards ineffective for winter rodent protection. A metal guard with holes approximately 8-9mm in diameter allows bees to pass and carry out dead bees, while physically blocking a mouse’s head from entering. The best overall choice for most Canadian beekeepers is a stainless steel sliding entrance reducer that doubles as a ventilation adjuster — it requires no cutting, fits most Langstroth boxes, and lasts indefinitely.
Install your mouse guard in September — before October 1st in Ontario, before September 15th in Alberta. The October deadline matters because once night temperatures drop consistently below 10°C, bees begin forming their winter cluster in the centre of the brood box. A clustered colony cannot patrol the entrance — mice can enter and nest undisturbed from that point forward. Installing in September while bees are still active means workers will immediately remove any mouse that attempts entry. Never install a mouse guard without first confirming no mouse is already inside — check with a torch through the entrance before fitting the guard.
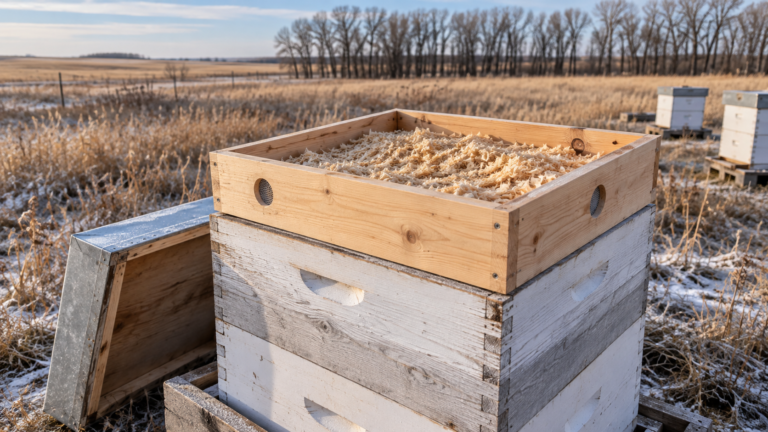
Yes — a mouse can chew through a standard wooden entrance reducer in a single night. Mouse teeth (incisors) grow continuously and are harder than soft wood — the beekeeper who discovers a chewed wooden reducer in November is looking at a hive that has likely already been colonized. A winter mouse inside a beehive does not just steal honey: it shreds comb for nesting material, contaminates stores with urine and feces, and physically disturbs the winter cluster — stress that directly increases colony caloric consumption and mortality risk. Metal guards eliminate this risk entirely.
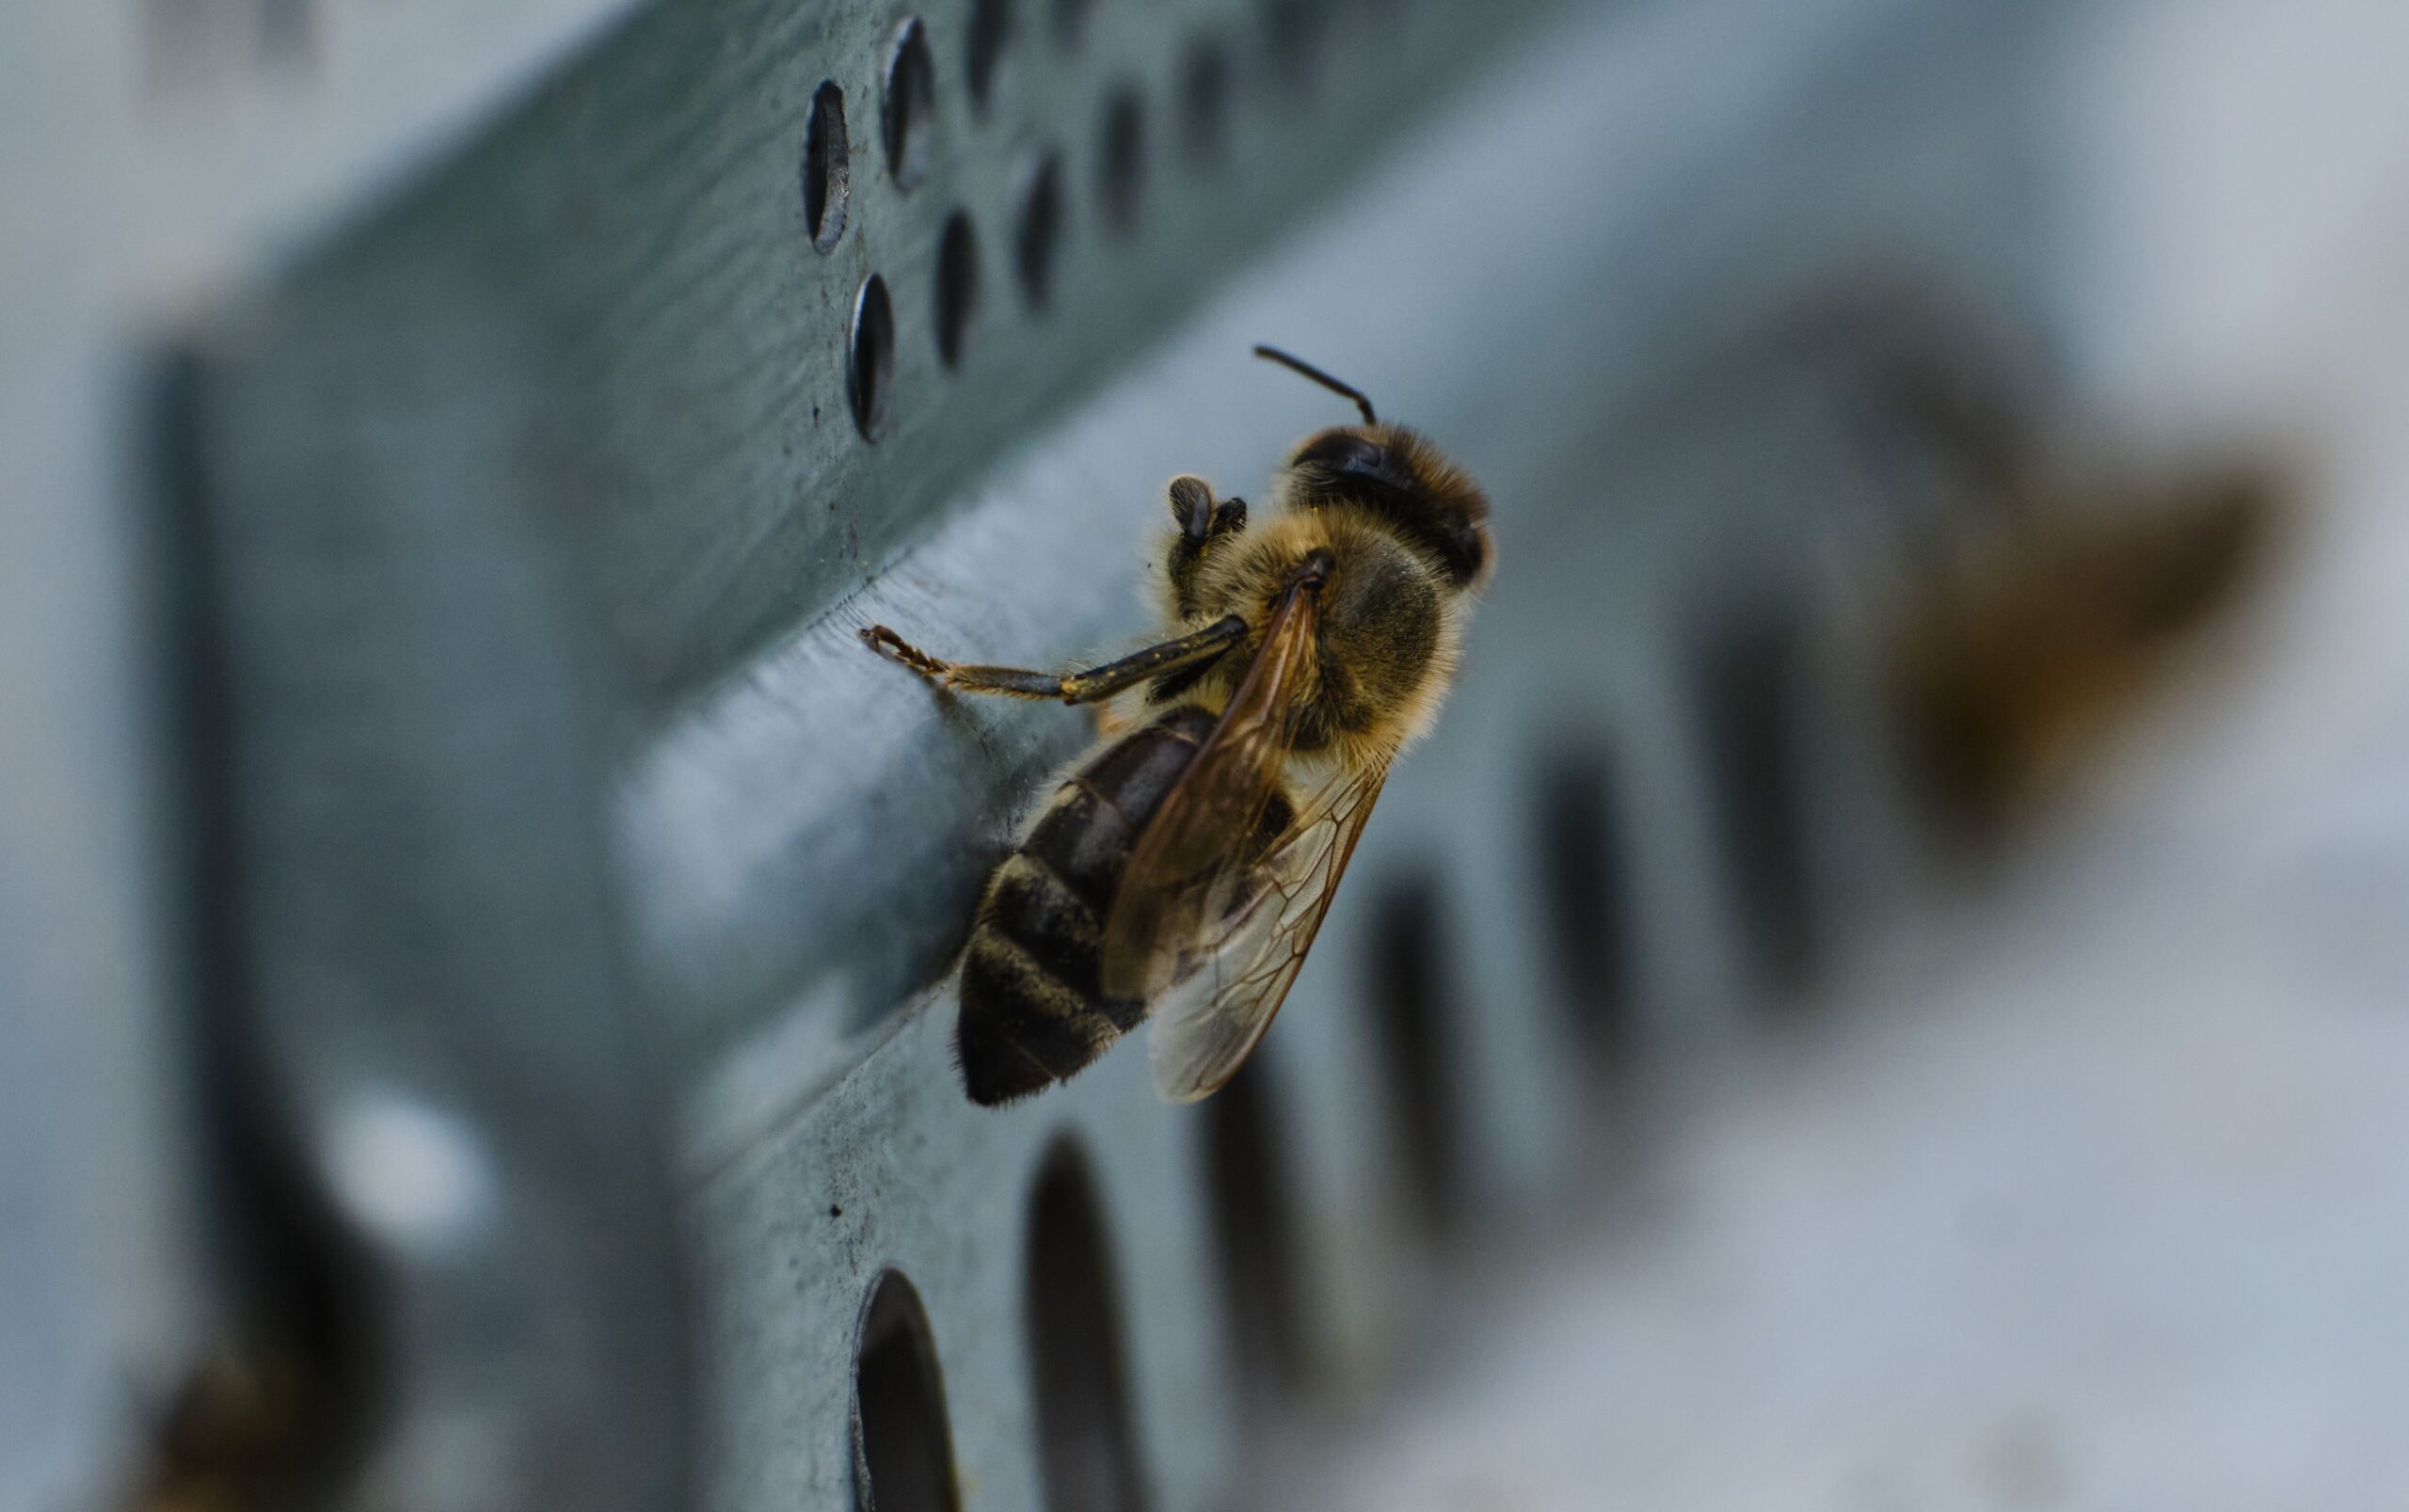
The correct hole size for a beehive mouse guard is 8-9mm in diameter (approximately 3/8 inch). This dimension is large enough for a worker bee to pass through comfortably in both directions — including while carrying pollen loads or removing dead bees during winter cleansing flights. It is small enough to physically block a mouse’s skull from entering. A mouse’s minimum skull width is approximately 12mm — a 9mm hole is below that threshold regardless of how hard the mouse pushes. Holes smaller than 7mm can cause bees to struggle on re-entry after cleansing flights, particularly in cold conditions when bee body flexibility is reduced.
📋 In This Article
A mouse inside a beehive over a Canadian winter is not an inconvenience — it is a colony death sentence that unfolds slowly over five months. The beekeeper who opens a wrapped hive in April to find shredded comb, mouse nesting material, and a cluster of dead bees has paid the price of skipping a $12 metal guard in September. This guide covers the best mouse guards for beehives, what to look for, and how to install one correctly before October.
Why You Need the Best Mouse Guards for Beehives Before October
What a Winter Mouse Actually Does to Your Hive
As outdoor temperatures drop in September, mice seek warm, food-rich shelter. A beehive offers exactly that: a warm cluster generating 20-30°C of heat, kilograms of honey and pollen stores, soft wax comb for nesting material, and a colony too clustered to defend itself.
Once inside, a mouse shreds comb frames to build a nest, contaminates an estimated 20-40 frames of honey and pollen with urine and feces (bees will not use contaminated stores), physically disturbs the winter cluster causing cold stress, and if it dies inside — the decomposition further stresses a colony already under maximum winter metabolic load.
Spring outcome: dead colony, ruined equipment, and a cleanup that costs more time and money than the guard would have.
Why Wooden Entrance Reducers Are Not Mouse Guards
The October Deadline — Why Timing Is Non-Negotiable
When Ontario or Alberta night temperatures drop consistently below 10°C, worker bees cease entrance guarding activity and form the winter cluster. A full-width entrance with no guard is undefended from that point until April. Installing a mouse guard after cluster formation requires opening the hive in cold conditions — disrupting the cluster and releasing the accumulated heat the bees have worked to build. Install in September while bees are still active and the installation is a five-minute task with no hive disruption.
Quick Comparison: Best Mouse Guards for Beehives 2026
| Product Type | Material | Fits | Best For | Price Range | Buy |
|---|---|---|---|---|---|
| Stainless Sliding Guard 🏆 Best Overall |
Stainless steel | 8 & 10 frame | Most beekeepers | $14–22 | Amazon → |
| Punched Metal Strip 💰 Best Budget |
Galvanized metal | Cuttable to size | Multi-hive operations | $6–12 | Amazon → |
| Adjustable 2-in-1 Metal Reducer 🔧 Most Versatile |
Powder-coated metal | 8 & 10 frame | Ventilation control too | $16–28 | Amazon → |
| Mouse Guard + Bottom Board Kit | Metal + wood | Langstroth standard | New hive setup | $22–36 | Amazon → |
Best Mouse Guards for Beehives Reviewed
The stainless steel sliding entrance reducer is the best mouse guard for most Canadian beekeepers for one practical reason: it requires no cutting, no modification, and no tools to install. The sliding mechanism lets you switch between a full open summer position, a reduced fall ventilation position, and a fully mouse-guarded winter slot — all by sliding a single metal plate.
For Ontario beekeepers managing 2-10 hives, this is the guard that installs in under two minutes per hive and comes off just as easily in spring. The stainless steel construction means it does not rust in the freeze-thaw wet conditions of Canadian falls and springs — galvanized alternatives can begin to corrode after two to three seasons of outdoor use. One purchase per hive, used indefinitely.
✓ Pros
- No cutting or modification needed
- Adjustable ventilation positions
- Stainless — lasts indefinitely
- Push-fit — no screws required
- Works as summer ventilation reducer too
— Cons
- Slightly pricier than strip guards
- May need tack or staple to secure in wind
- Verify width match for your specific box
The punched metal strip is the classic mouse guard used by commercial Ontario and Alberta beekeepers managing large numbers of hives at low cost per unit. It is a flat metal strip — galvanized or aluminum — pre-punched with rows of 8-9mm holes, sold by the metre or in pre-cut lengths. The beekeeper cuts it to fit the entrance width with tin snips and secures it with two small staples or apicultural tacks.
For a hobbyist with 2-3 hives, the sliding stainless guard offers more convenience at a small premium. For a sideliner managing 20+ colonies, the strip guard’s low per-unit cost makes it the economical choice — a 10-pack of pre-cut strips costs less than two sliding guards and provides the same mouse protection when correctly installed.
✓ Pros
- Very low cost — best per-hive value
- Cuttable to any entrance width
- Allows bees to carry out dead workers
- Available in multi-packs for large apiaries
— Cons
- Cut edges are sharp — wear gloves
- Requires tin snips and staple gun
- Galvanized may corrode after 3-4 seasons
- Not adjustable — one configuration only
The adjustable metal entrance reducer earns its place in this guide for beekeepers who want one piece of equipment that handles multiple seasonal jobs: summer ventilation control, August robbing prevention during nectar dearth, and September-October mouse exclusion. A rotating or sliding metal disc or lever adjusts the opening from fully open to a bee-width slot to fully closed — with a dedicated mouse-guard position that matches the 8-9mm hole specification.
This is particularly useful for Ontario beekeepers who leave hives unattended for weeks at a time during the late summer period — one device manages the transition from summer to winter configuration without multiple product swaps. The slight price premium over a strip guard is justified for beekeepers who value the multi-season flexibility.
✓ Pros
- One product for summer + winter use
- Controls robbing in August dearth
- Adjustable without removing the guard
- Easy transition from ventilation to mouse-guard position
— Cons
- Higher price than strip guards
- More parts — confirm mechanism works smoothly before winter
- Wider profile — confirm fit for your specific box brand
Buyer’s Guide: What to Look for in a Beehive Mouse Guard
Material — Metal Wins Every Time
Stainless steel or galvanized metal is the only material that physically stops a mouse. Wood is chewable overnight. Plastic lasts slightly longer but is still chewed through within days. If the product description does not explicitly state metal construction — skip it.
Hole Size — The 8-9mm Rule
Guard holes must be large enough for bees to pass and carry out dead bees (minimum 7mm), and small enough to block a mouse skull (maximum 9.5mm). The sweet spot is 8-9mm. Guards with larger holes may let juvenile mice or very small mice push through.
Fit Your Box — 8 vs 10 Frame
Standard Langstroth entrance widths: 10-frame boxes are typically 480-490mm wide; 8-frame boxes 380-390mm. Measure your entrance before ordering. Sliding guards come in specific widths — strip guards can be cut to any size with tin snips.
Fixation — Secure Against Wind
A mouse guard that can be pushed aside by wind or by a persistent mouse defeats its purpose. Sliding guards that friction-fit into the entrance groove are adequate. Strip guards must be stapled or tacked with at least two fixation points. Check after the first hard October wind.
Using a Nuc Box, Mating Hive, or Top-Bar Hive with a Round Entrance?
The guards reviewed above are designed for standard Langstroth hives with a rectangular entrance slot. If you use a nuc box, swarm trap, or mating hive with a round entrance hole, look for stainless steel rotating entrance discs (also called entrance disc gates) on Amazon.ca — these mount over the round hole and rotate between open, ventilation, and fully closed positions. Choose stainless steel versions only — plastic disc gates are available and cheaper, but mice can chew through plastic within a single night, defeating the purpose entirely. The stainless steel disc versions provide equivalent mouse exclusion for round-entrance hive styles.
The Correct Hole Size — Visual Reference
How to Install Your Mouse Guard Correctly
Final Verdict
Questions about fall hive preparation? 🐝
Ask our AI beekeeping assistant — describe your hive setup and we’ll walk you through the complete September preparation checklist for your province.
🐝 Ask Bee Now — It’s Free🐝 WiseBee Disclosure
Affiliate Disclosure: This article contains Amazon affiliate links. If you purchase through our links, we earn a small commission at no extra cost to you. Learn more →
Disclaimer: This article is for educational purposes only and does not constitute professional apicultural or veterinary advice. Always consult a qualified beekeeper for guidance specific to your situation. Full disclaimer →